How to Install & Configuration Tailwind CSS | Beginners Guide

I am interested in information technology, psychology and whatever it is related to the digital tech. I like to surf the internet to find out what I understand and learn it and try new things every day from the internet about my interests.
🔎 Introduction
Tailwind CSS is a utility-first CSS framework for rapid, responsive web development. Tailwind is intended to assist you in creating scalable and maintainable projects with as little custom code as possible. The framework includes a variety of features that are simple to use and benefit from, such as modular build tooling, browser support flags, Sass support, and prebuilt mixins. In this article, I'll show you how to get started with Tailwind CSS on your next project!
🖥 Software Requirements
First, of course we must have a web browser, you can use Google Chrome or another browser. Besides, we also have to install a code editor, here I will use VS Code, which then we also have to install several supporting extensions to help and make it easier for us to code and run our tailwind css project. The extensions that we must install are :
✨ Get Started
There are several methods for installing Tailwind on our computers. We can use tailwind cli, post css, the framework we use, or the simplest method, cdn.
I'll show you how to install it using Tailwind CLI. Don't forget to prepare the project folder before we begin. You can create a new folder called learning-tailwind-css or you can name it whatever you want.
After that, we open our VS code and then open the folder we created earlier by clicking File - Open Folder - Search for and selecting the folder we created earlier. And yaps, we are now in the project folder that we will be creating.
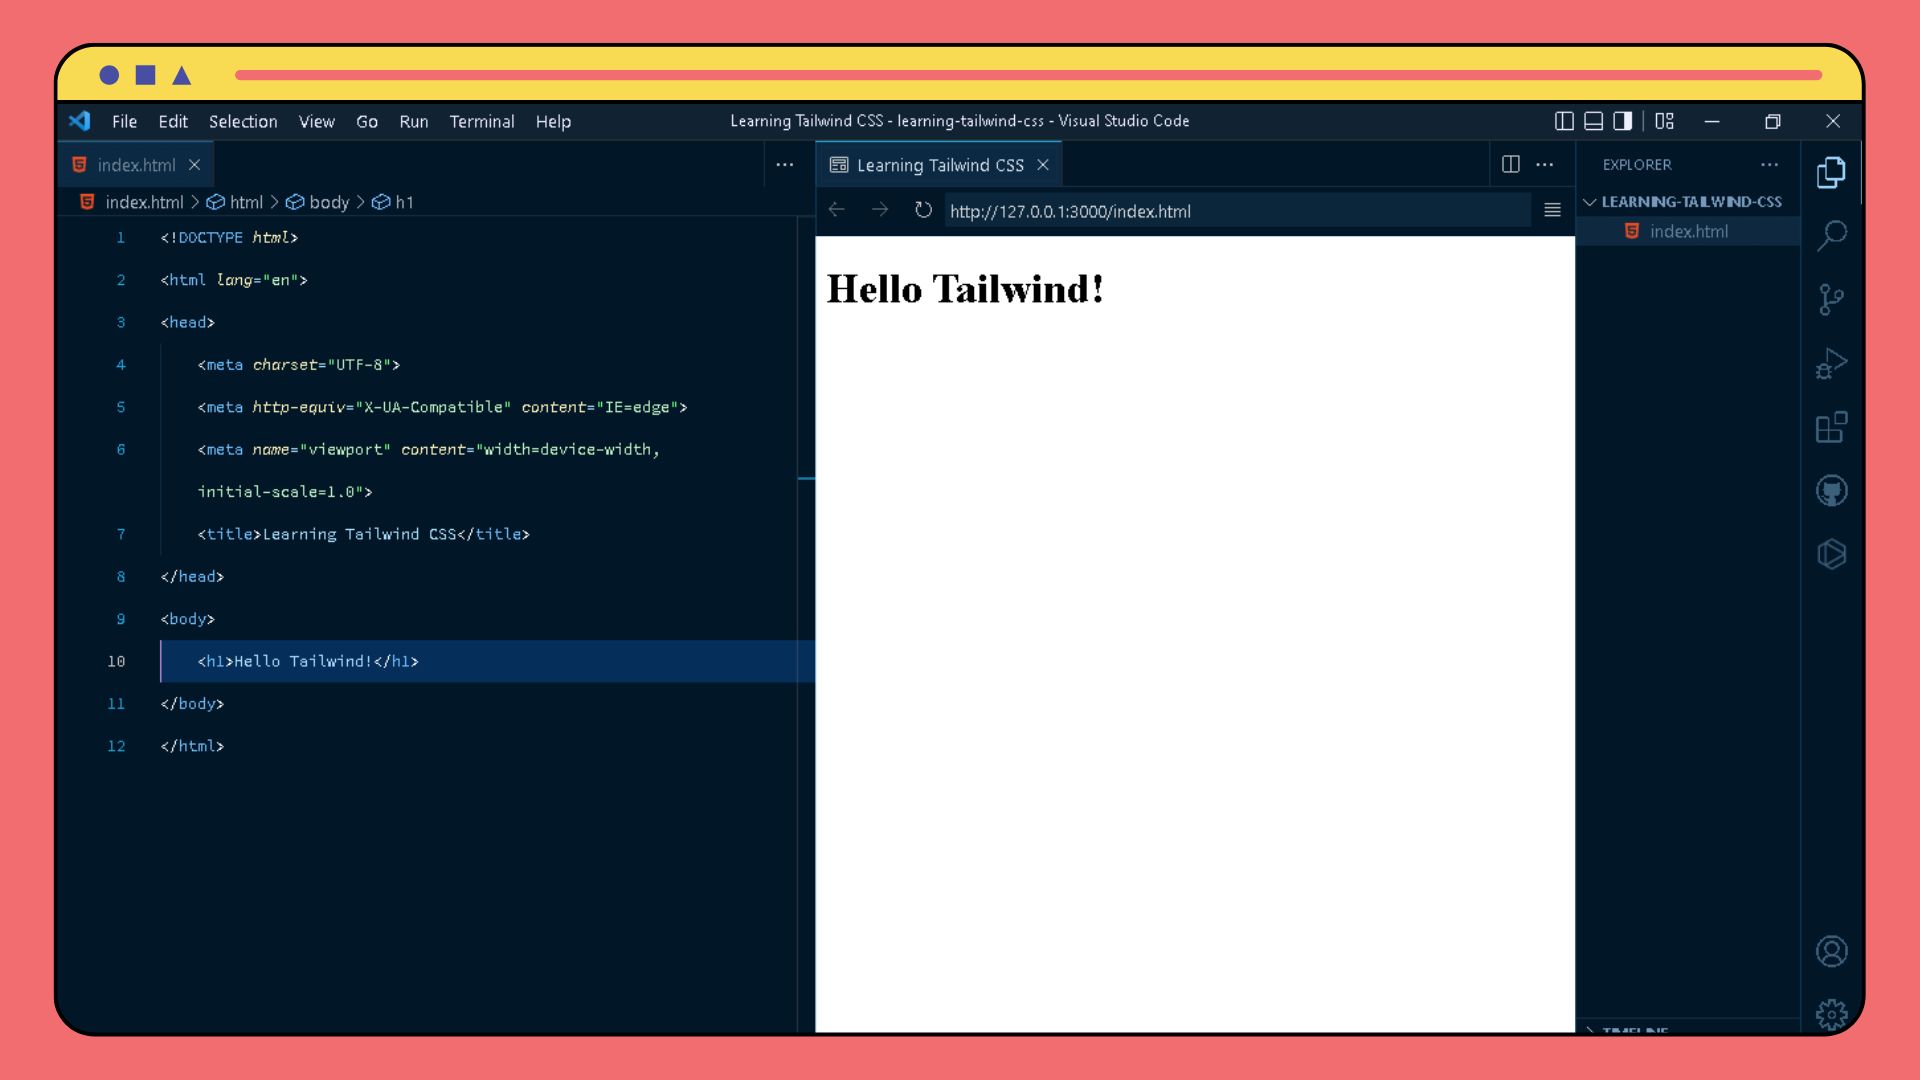
Now, in our project folder, create a new HTML file called index.html and fill it with the following code.
<!DOCTYPE html>
<html lang="en">
<head>
    <meta charset="UTF-8">
    <meta http-equiv="X-UA-Compatible" content="IE=edge">
    <meta name="viewport" content="width=device-width, initial-scale=1.0">
    <title>Learning Tailwind</title>
</head>
<body>
    <h1>Hello Tailwind</h1>
</body>
</html>
This is the result
🧵 Installation Tailwind CSS
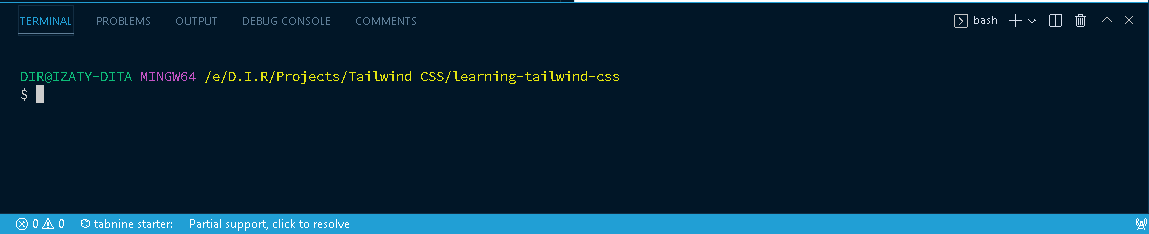
Here we need a terminal, and I will use a terminal that has been integrated with VS Code in this case. You can open View and then select Terminal, or you can use the keyboard shortcut Ctrl + ', and then the terminal will appear at the bottom.
Okay, because we are using npm here, it is preferable to make our application initialized before entering the tailwind installation. So in our terminal, first type the following command:
npm init -y
That way, tailwind will then generate a file called package.json that contains all of the necessary information with default values.
Now it's time for us to install the tailwind css, let's go...
Install Tailwind CSS with NPM
To get started, you’ll need to install Tailwind CSS through npm. To do this, on the terminal, run the following command:
npm install -D tailwindcss
The next step is to initialize tailwind in our application, by typing the command:
npx tailwindcss init
When you run the command, a new file named tailwind.config.js is produced in our folder.
Configure your template paths
Our template file path must be configured here. This template file is our html/javascript file that we will put tailwind classes in, which must be stored in the content. Add the paths to all of your template files in your tailwind.config.js file.
Open your tailwind.config.js file. Delete the content in the file, then paste it with the code below.
/** @type {import('tailwindcss').Config} */
module.exports = {
  content: [
    "./index.html",
    "./src/**/*.{html,js}"],
  theme: {
    extend: {},
  },
  plugins: [],
}
In this content section, we will explain where we put our web files.
Add the Tailwind directives to your CSS
We now need a tailwind directive, so we'll run the tailwind CSS via these three command lines and save it as a CSS file.
@tailwind base;
@tailwind components;
@tailwind utilities;
Now, in our application, make a new folder named src, and within it, make a file called input.css. Then paste the three lines from above into the newly created css file.
These three are called directives/functions and are owned by Tailwind CSS, which is written based on PostCSS. So this is not ordinary CSS, so later before running, tailwind will first pass through this css file, and once it passes through this css file, it will run these 3 layers of tailwind, before later a new css file will be created, which is the file used by our web (compiled).
Start the Tailwind CLI build process
Now we will run the build process. So we will create the final CSS file that will be used by our website. Do this by running the following command.
npx tailwindcss -i ./src/input.css -o ./dist/output.css --watch
So the command will run the execution of the Tailwind application with the input file, input.css. CSS then produces the output file, output.css. And what command --watch means is that every change will be known by tailwind, so that whatever we do in our html file will be processed immediately. That's because the tailwind feature is called the Just-in-Time engine. Later, the process will continue before we turn it off.
If successful, then after the command is executed, in our folder there is now a file called output.css. In that file, you can see a lot of CSS coding. It is the result of Tailwind compiling the contents of input.css into output.css. output.css is what we will use on our website.
Start using Tailwind in your HTML
Now, in the index.html file, we add a link tag that points to the output file. That is, add the following instruction inside the head.
<link href="/dist/output.css" rel="stylesheet">
And the installation and configuration of Tailwind is now complete. We can now take use of the tailwind.
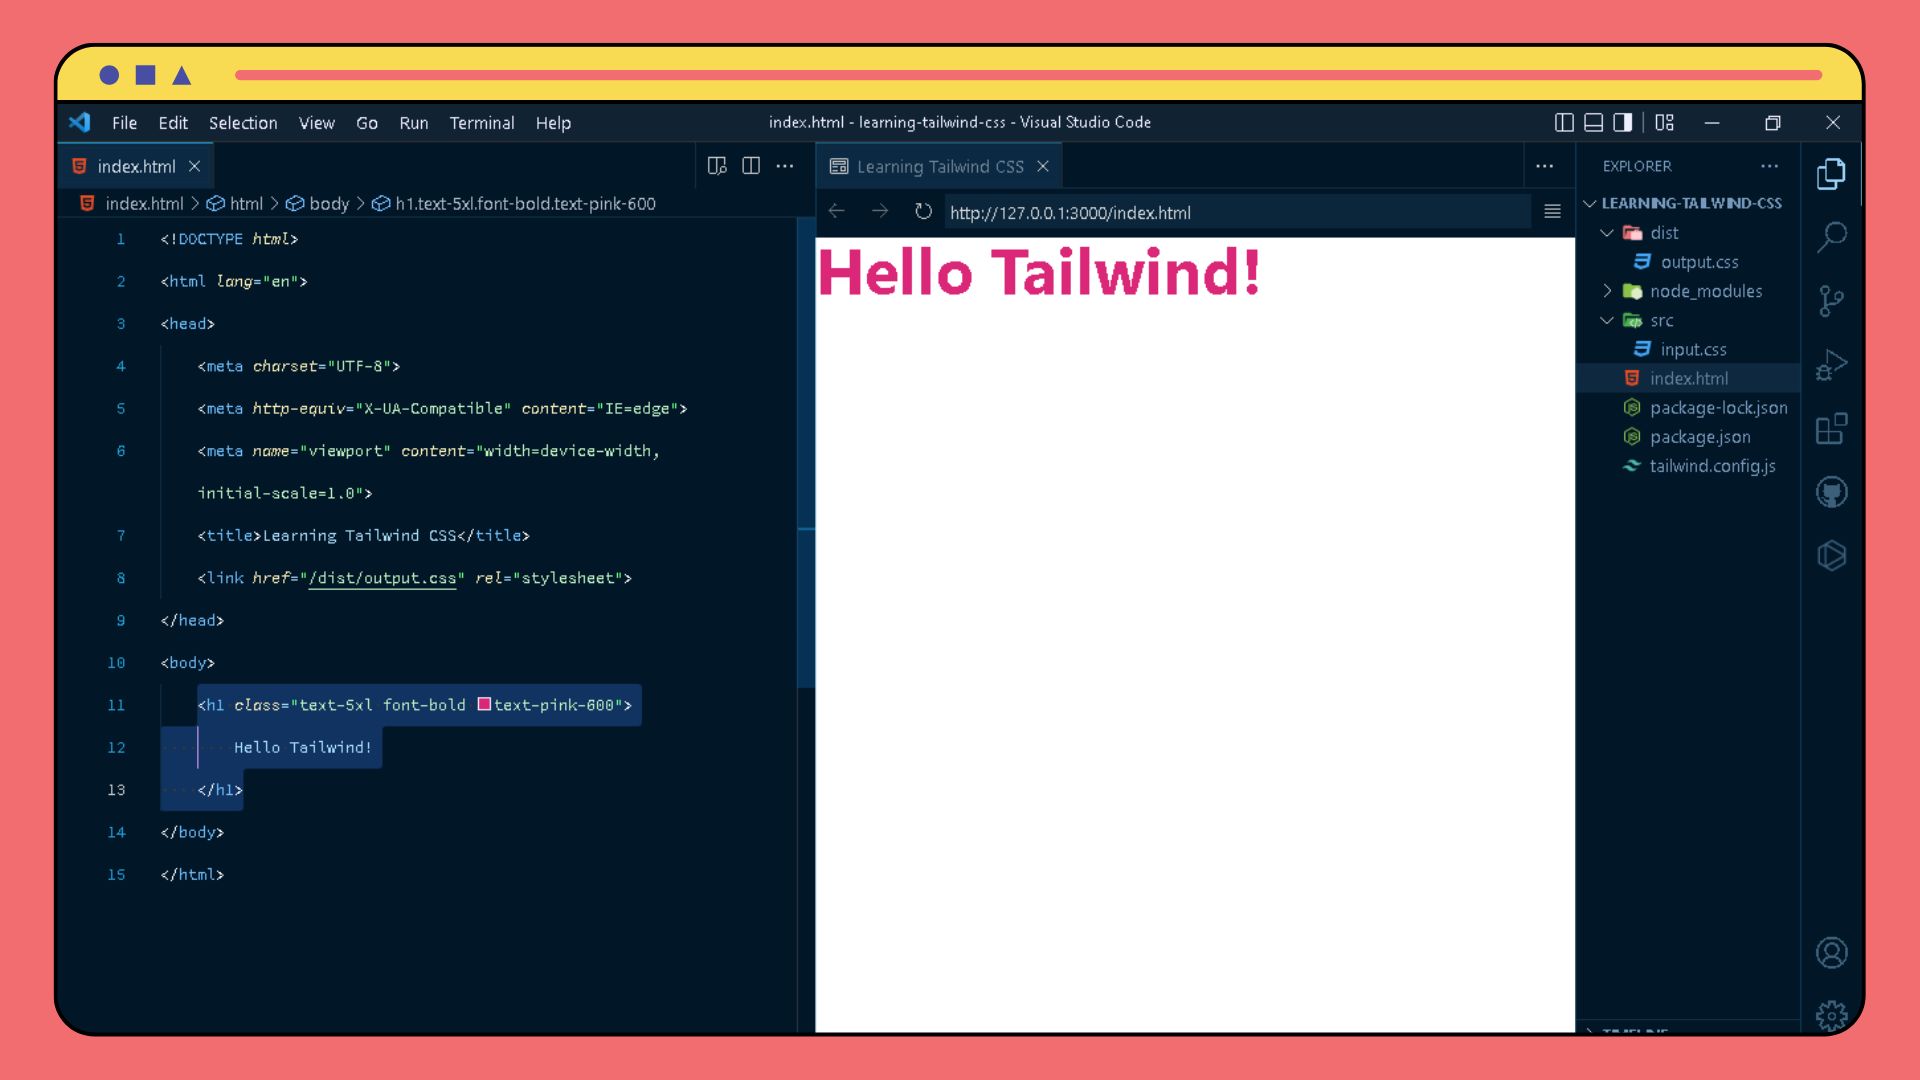
Next, let's attempt styling the index.html file we made before.
For example, here we want to make our h1 text bold, then the text size is 5xl (3 rem), then the text color is pink. So we just add this class to our h1.
<h1 class="text-5xl font-bold text-pink-600">
  Hello Tailwind!
</h1>
And it will look like this :
Additional :
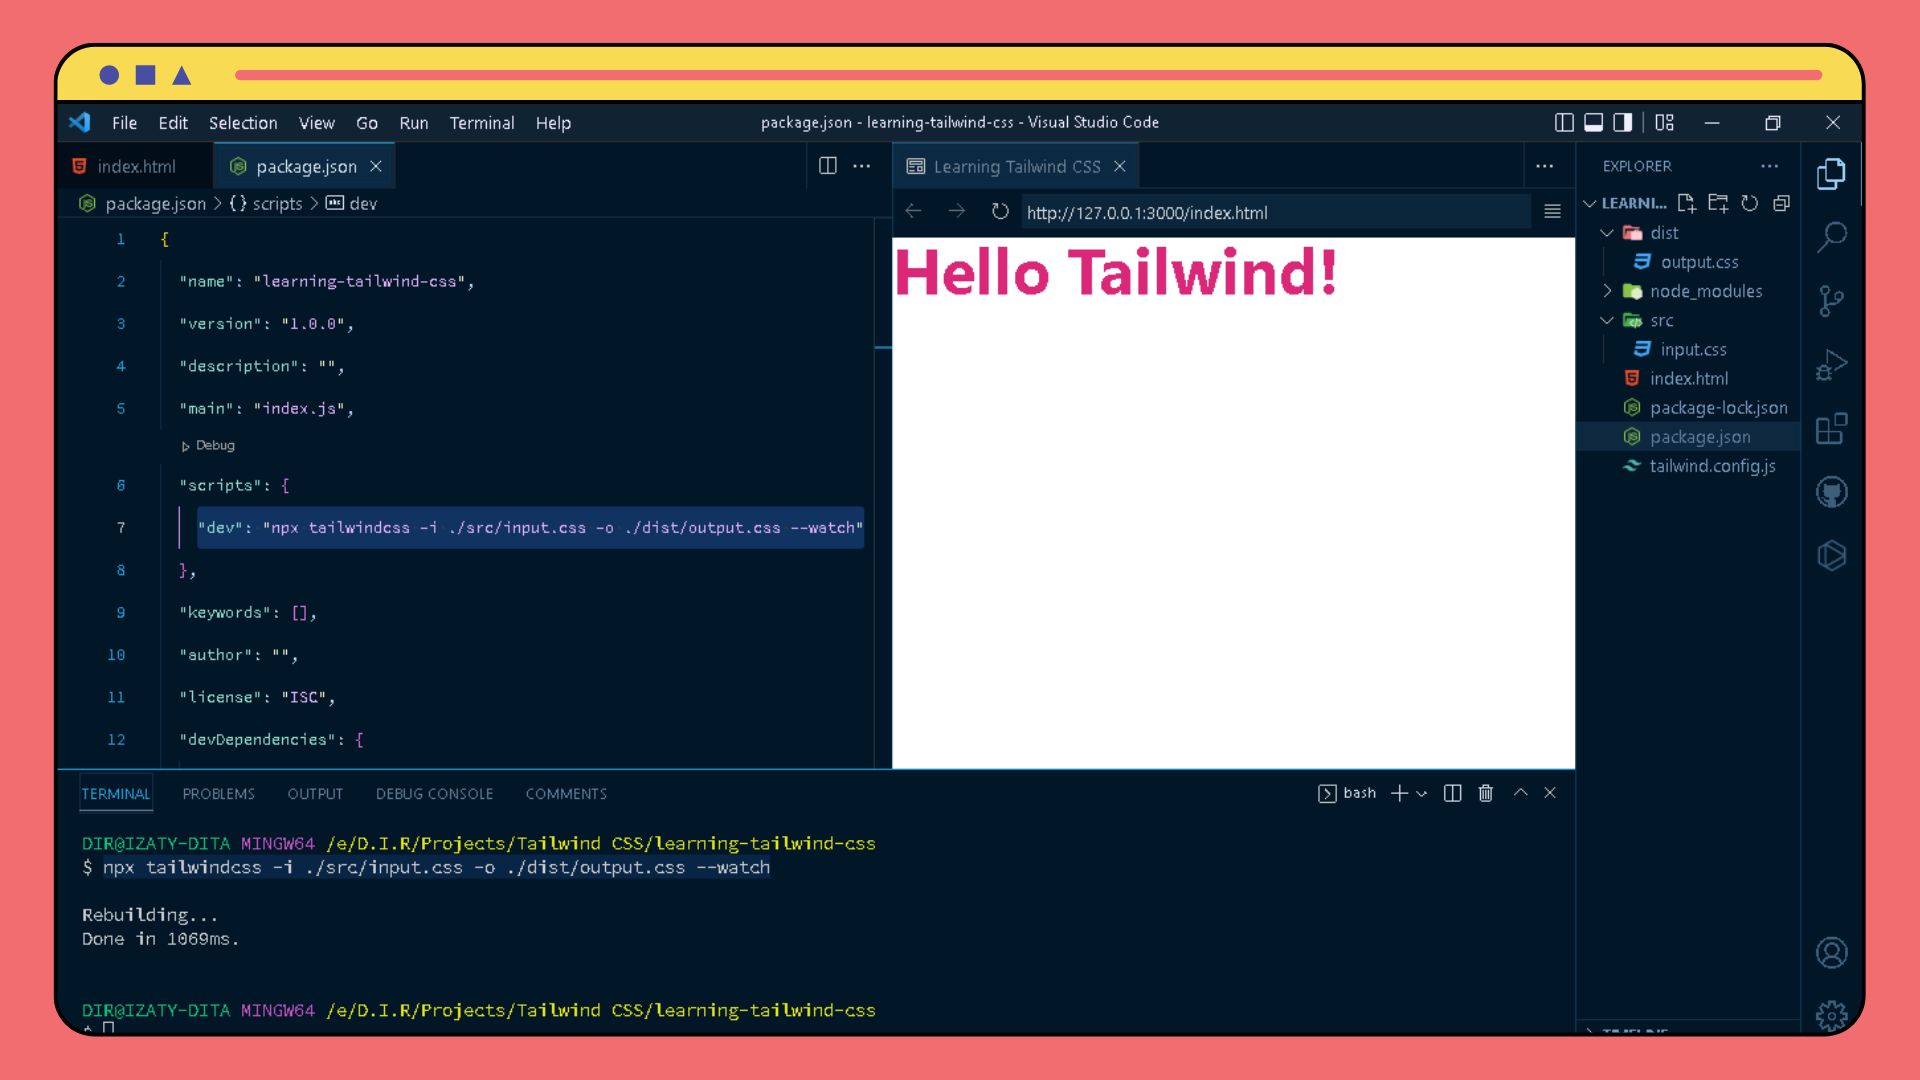
Now we'll transfer this script npx tailwindcss -i ./src/input.css -o ./dist/output.css --watch into our npm so that we don't have to write the long script every time we stop and want to continue the tailwind project we started.
The trick is to first terminate the build process in our terminal by hitting Ctrl + C on the active terminal.
Then, in the package.json file, replace the scripts section with the following script:
"dev": "npx tailwindcss -i ./src/input.css -o ./dist/output.css --watch"
Furthermore, if we want to re-run the build process, we only need to type the following command in our terminal.
npm run dev
Where dev is the keyword of the script we created earlier. Later, when we enter the command, it will run the previous command npx tailwindcss-i./src/input.css-o./dist/output.css-watch. So this will make it easier for us because there will be no need to write long commands like that.
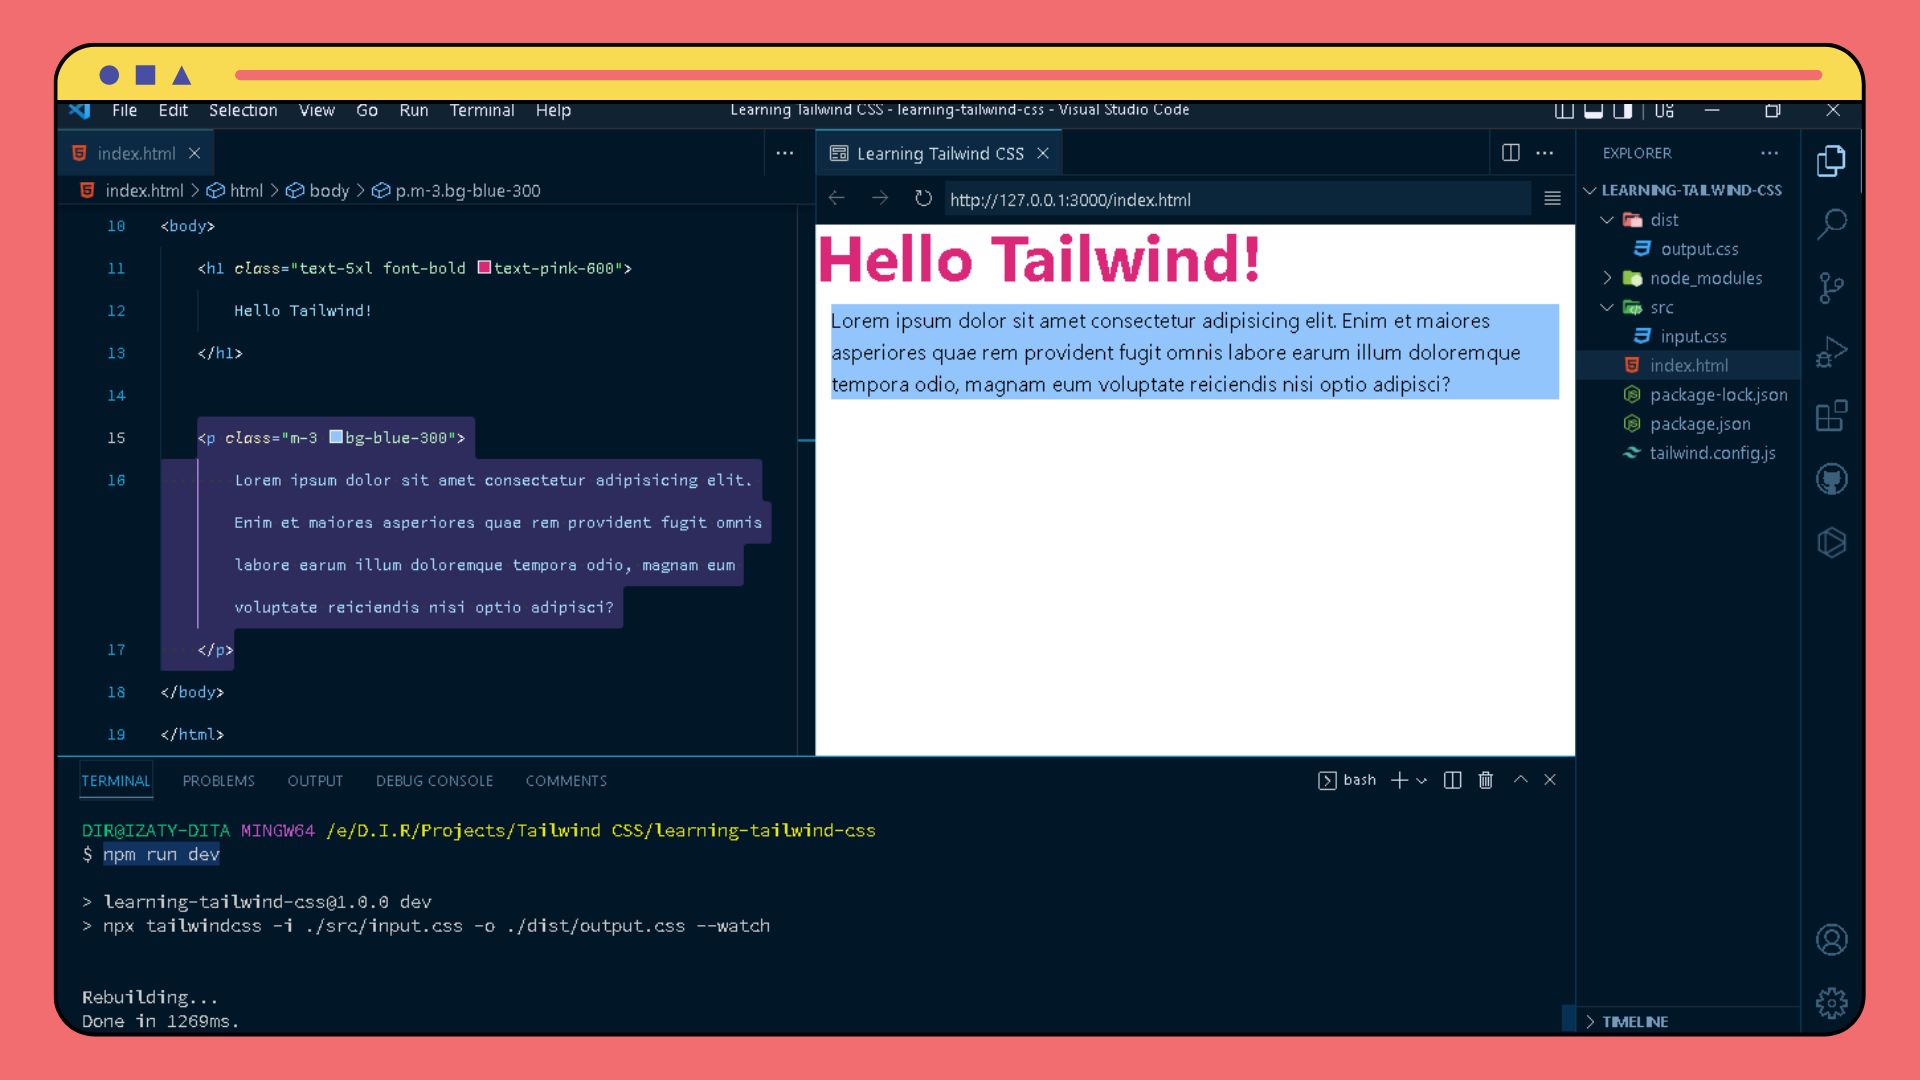
Now, we return to our index.html file and attempt to create a new paragraph with a margin of 3 and a blue background by including the following code:
<p class="m-3 background-blue-300">
  Lorem ipsum dolor sit amet consectetur adipisicing elit. Enim et maiores asperiores quae rem   provident fugit omnis labore earum illum doloremque tempora odio, magnam eum voluptate reiciendis nisi optio adipisci?
</p>
Then, in our terminal, type npm run dev to re-run the build process and view the changes.
•••
That's all I have to say about installation & configuration tailwind css in this article. Thank you for taking the time to read this article. I hope it's helpful to those who read it and helps reader friends understand how to install & configuration tailwind css.
Please let me know if this article was helpful, and if you have any additional explanations, please leave them in the comments section so that your friends can learn as well. That's all, and thank you.
Let's study together every day! ~ ✨🚀
I hope to see you again in my next blog. Take care of yourself and continue to learn until then ~ 👋💙
•••
Did you find this article valuable?
If you liked this article, please like, comment and share this article.
Twitter : @ditaizaty
Find and connect with me on social media : Dita Izaty


